Many people run into quality issues when they stretch their photos and this is usually because they stretch the whole image instead of focusing on the ‘stretchable’ bits.
The stretchable bits are wide open areas with little variation or detail, which photographers call negative space (some call it white space).

Negative space can appear anywhere on a picture, and they provide a golden opportunity to elongate the image. We will show you how to stretch negative space at the top, bottom and center to create vertical pictures.
Vertically stretching the top of a picture
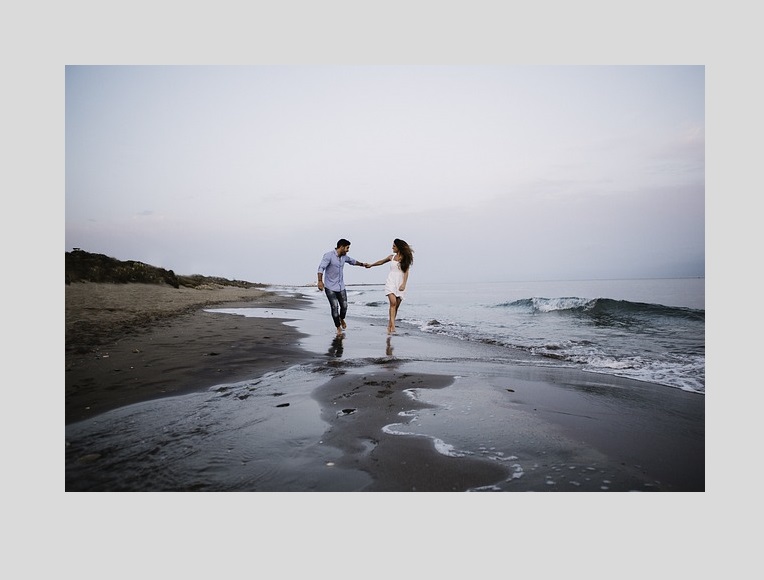
Most of the time, you will find wide open areas at the top of your photo, and this has a lot to do with gravity. Gravity tends to make the bottom half of a picture busier than the top.
Think about it: you’re stood outside, you can see the ground, you can see all kinds of objects on the ground like people, trees, cars and buildings, and then you have the big empty sky above.
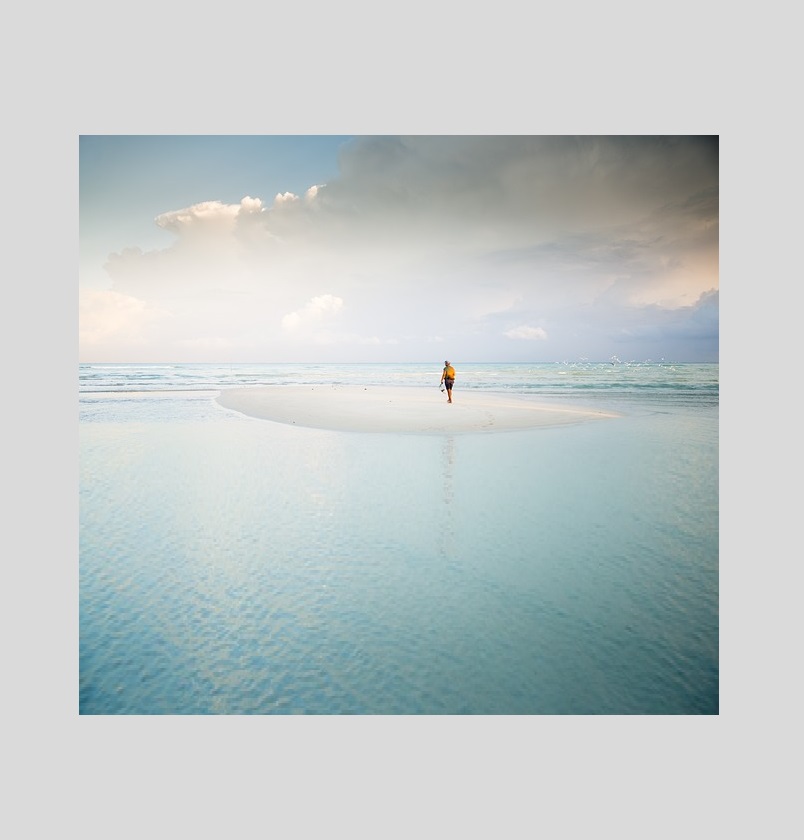
The picture below demonstrates this really well. The sky is a blank canvas, which means we can stretch it without causing any pixelation issues. You can’t stretch it forever, but you can stretch it enough to change the picture’s dimensions.
Using a rectangular selection tool, we can select the whole area that comprises the sky and stretch it upwards until we have reached the desired height (or until the quality begins to suffer).
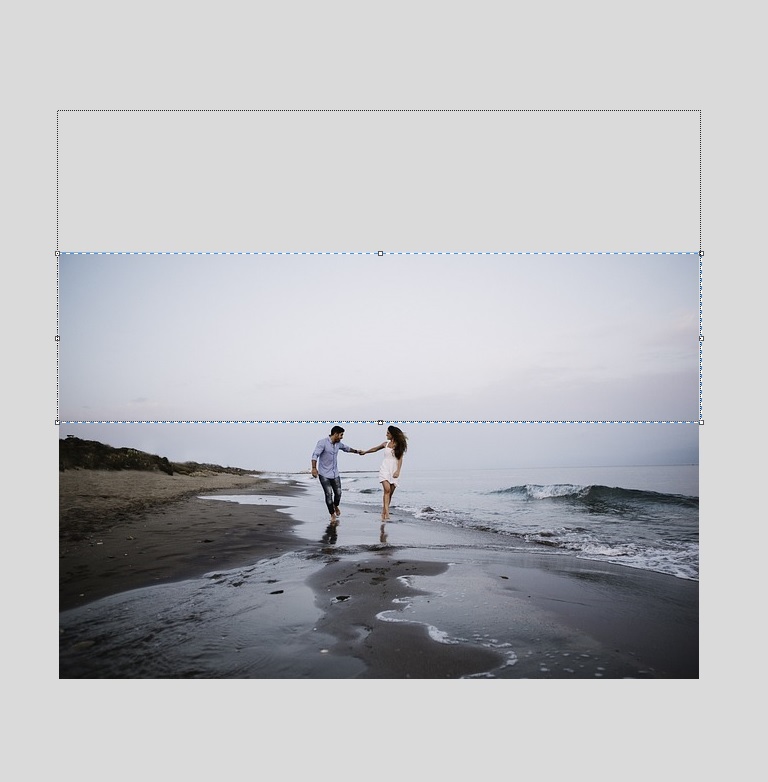
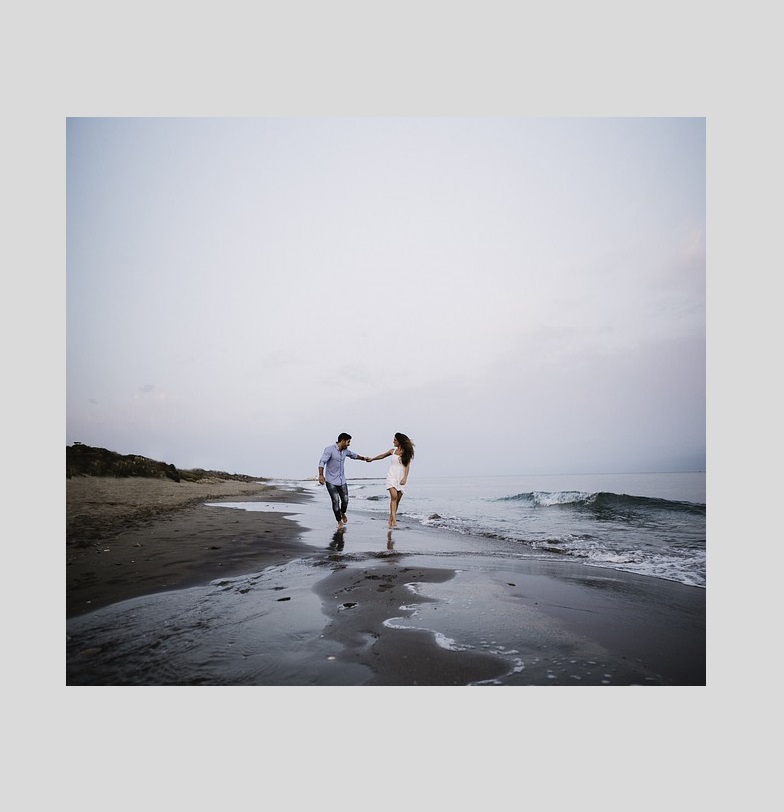
We have successfully stretched the image vertically. Notice that we now have twice as much negative space than we started with, hence why this method is invaluable for creating space to add text over photos.
Vertically stretching the center of a picture
Stretching the center is considerably more challenging than stretching the top or bottom. It’s where the subject is usually located, after all.
In this photo of a wave, we are fortunate in that the subject is itself an area with little detail and variation. This means we can go ahead and elongate it with our rectangular selection tool.
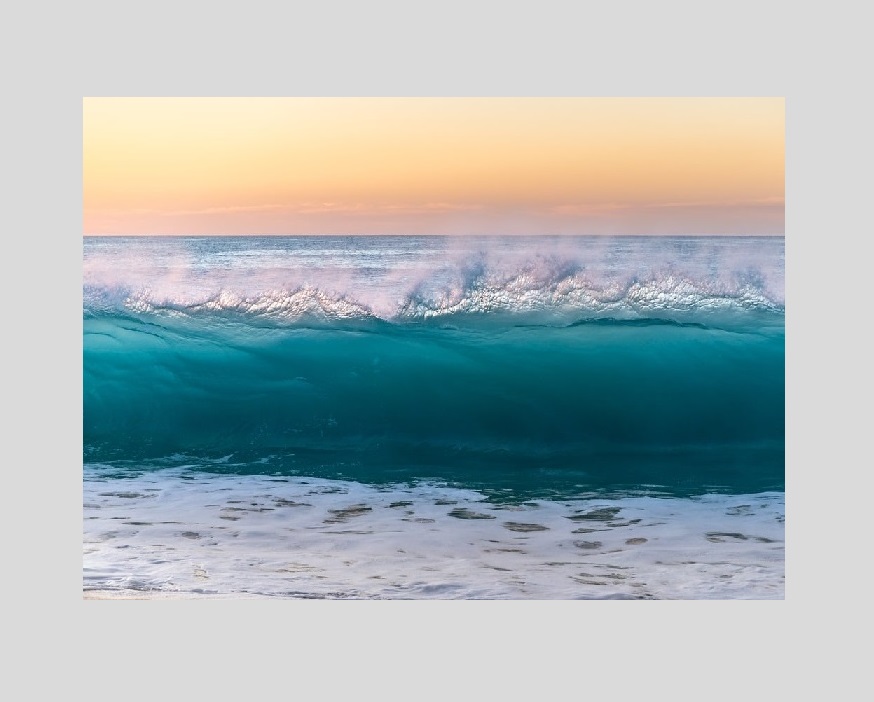
This time, the picture needs to be split into two before we start dragging/stretching the selected area. But don’t worry—everything will join up nicely in the end.
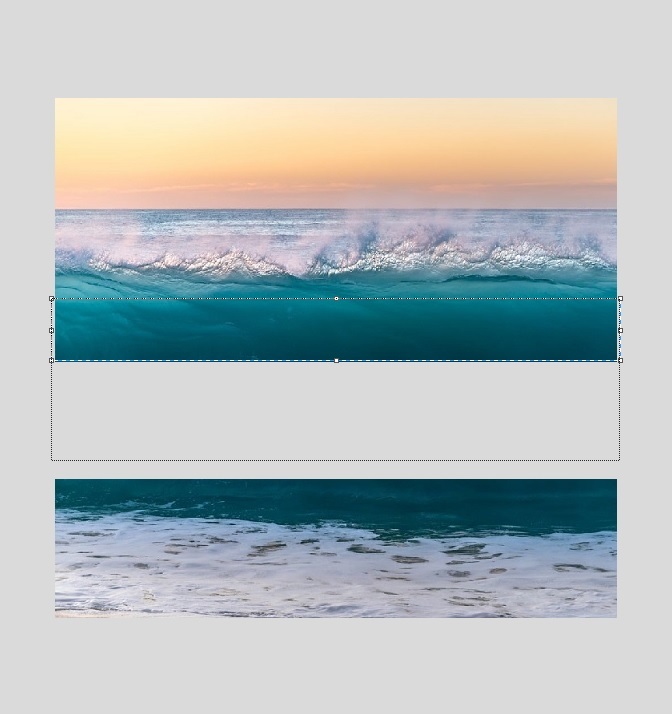
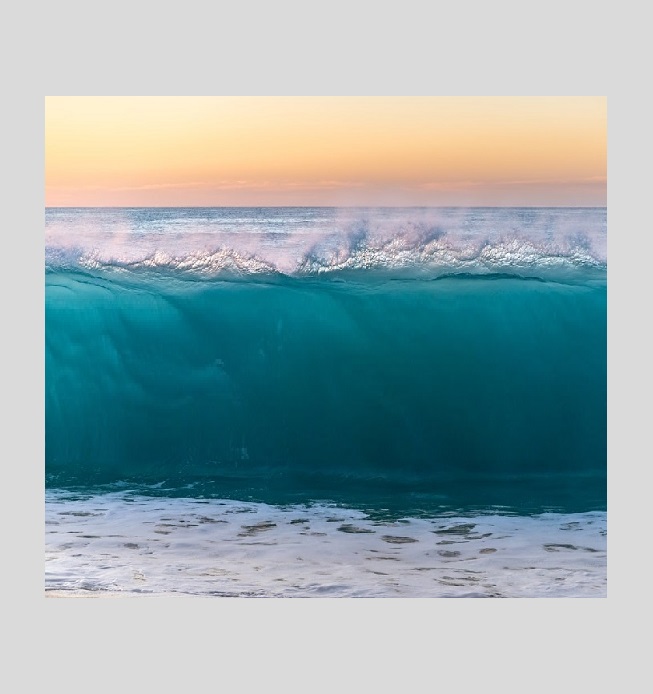
After stretching the wave downwards, what was once a horizontal photo has been converted into a vertical photo. Just be wary about ensuring the imagery still looks realistic. Waves can reach 20 meters in height, so I think we are fine in this particular case.
Vertically stretching the bottom of a picture
You often find non-busy areas at the bottom of your photos, but they tend to have a bit more detail and texture in comparison to the sky.
In the picture below, there’s visible texture on the surface of the water. However, it’s not distinctive to the point that it will become horribly pixelated when stretched, and therefore we can stretch it.

The larger the selected area, the further we can stretch it before quality issues arise. We were able to travel quite some distance thanks to the generous amount of negative space present in this example.

The end result is a bottom-heavy picture that looks just as good as it did before, but with the dimensions we want. If you don’t like vertically stretching a picture, you can always try vertically mirroring it instead.
Summary
Don’t make the common mistake of vertically stretching every single pixel in your photo, otherwise it will become blurred.
Rather, you just need to stretch the ’empty’ parts of the image, which could be at the very top, bottom or even in the center.
Doing this will leave you with a vertical format while retaining the quality of the original picture.