Landscape is the orientation of choice for giving photos a greater sense of scale and depth. But what do you do if you’ve already taken the picture in portrait mode and it’s too late to retake it?
The least-technical approach is to stretch it along the horizontal line. If you’ve tried this already and ended up with a blurry image, it’s because you stretched the entire image when really you just need to stretch the ‘stretchy’ parts.

Follow along as we reveal how to identify the stretchable areas in your photos, so you can horizontally stretch them without affecting the quality.
Horizontally stretch a photo on one side
As we said, the key is to stretch certain parts of the image, not all of it.
The pixels that contain lots of detail are the pixels that will become blurry when stretched. Therefore, you must only stretch areas with minimal detail and variation etc.
Since the subject of the photo is usually somewhere in the middle, you stand the best chance of finding non-busy areas along the perimeter. And since we want to increase the width, we must search for space on the left or right side of the image.
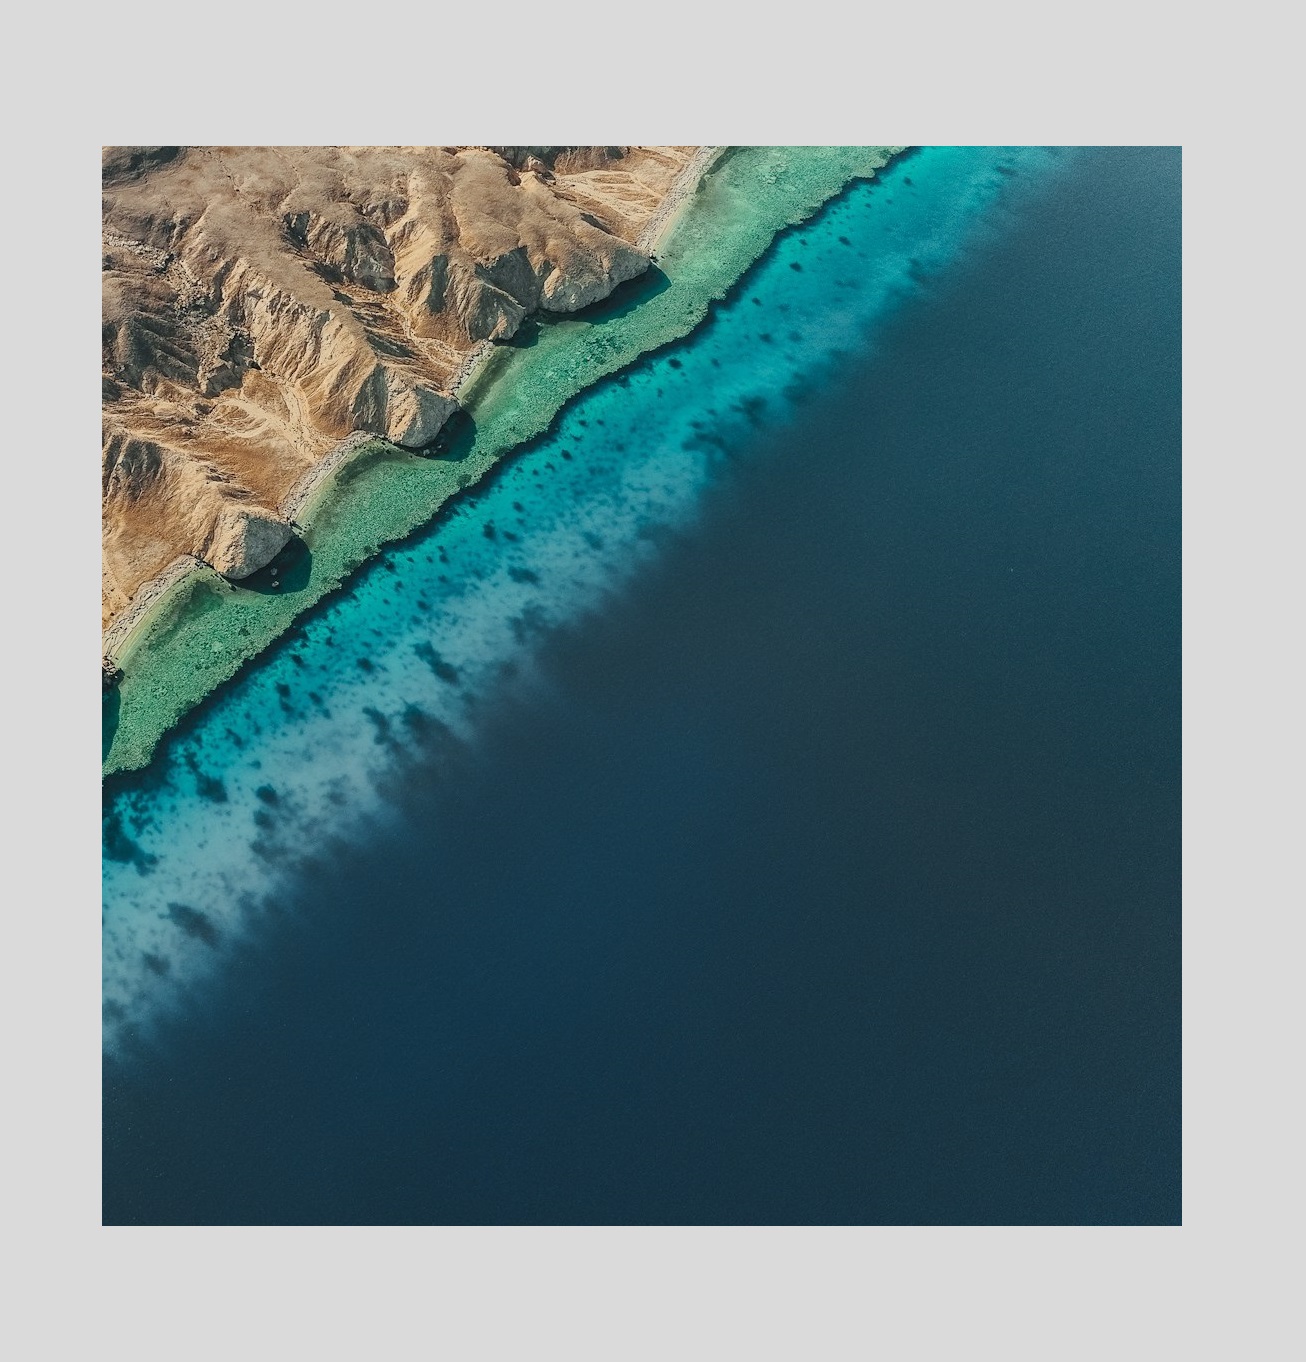
In this aerial shot of a coastline, the uneven terrain on the left-hand side contains too much detail. But the ocean on the right comes pretty close to resembling a solid block of color (albeit with some visible texture), and so we can stretch it.
We can go ahead and select this stretchy space with our rectangular selection tool and drag/stretch it further right until we are happy with the amount of extra width we’ve gained. Keep in mind the quality will start to deteriorate if you expand too far.
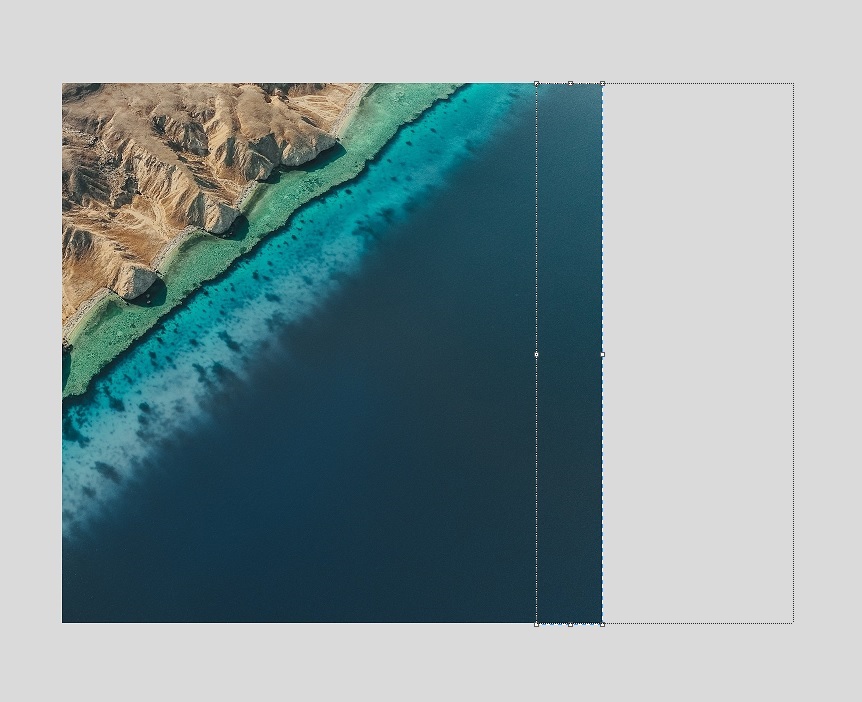
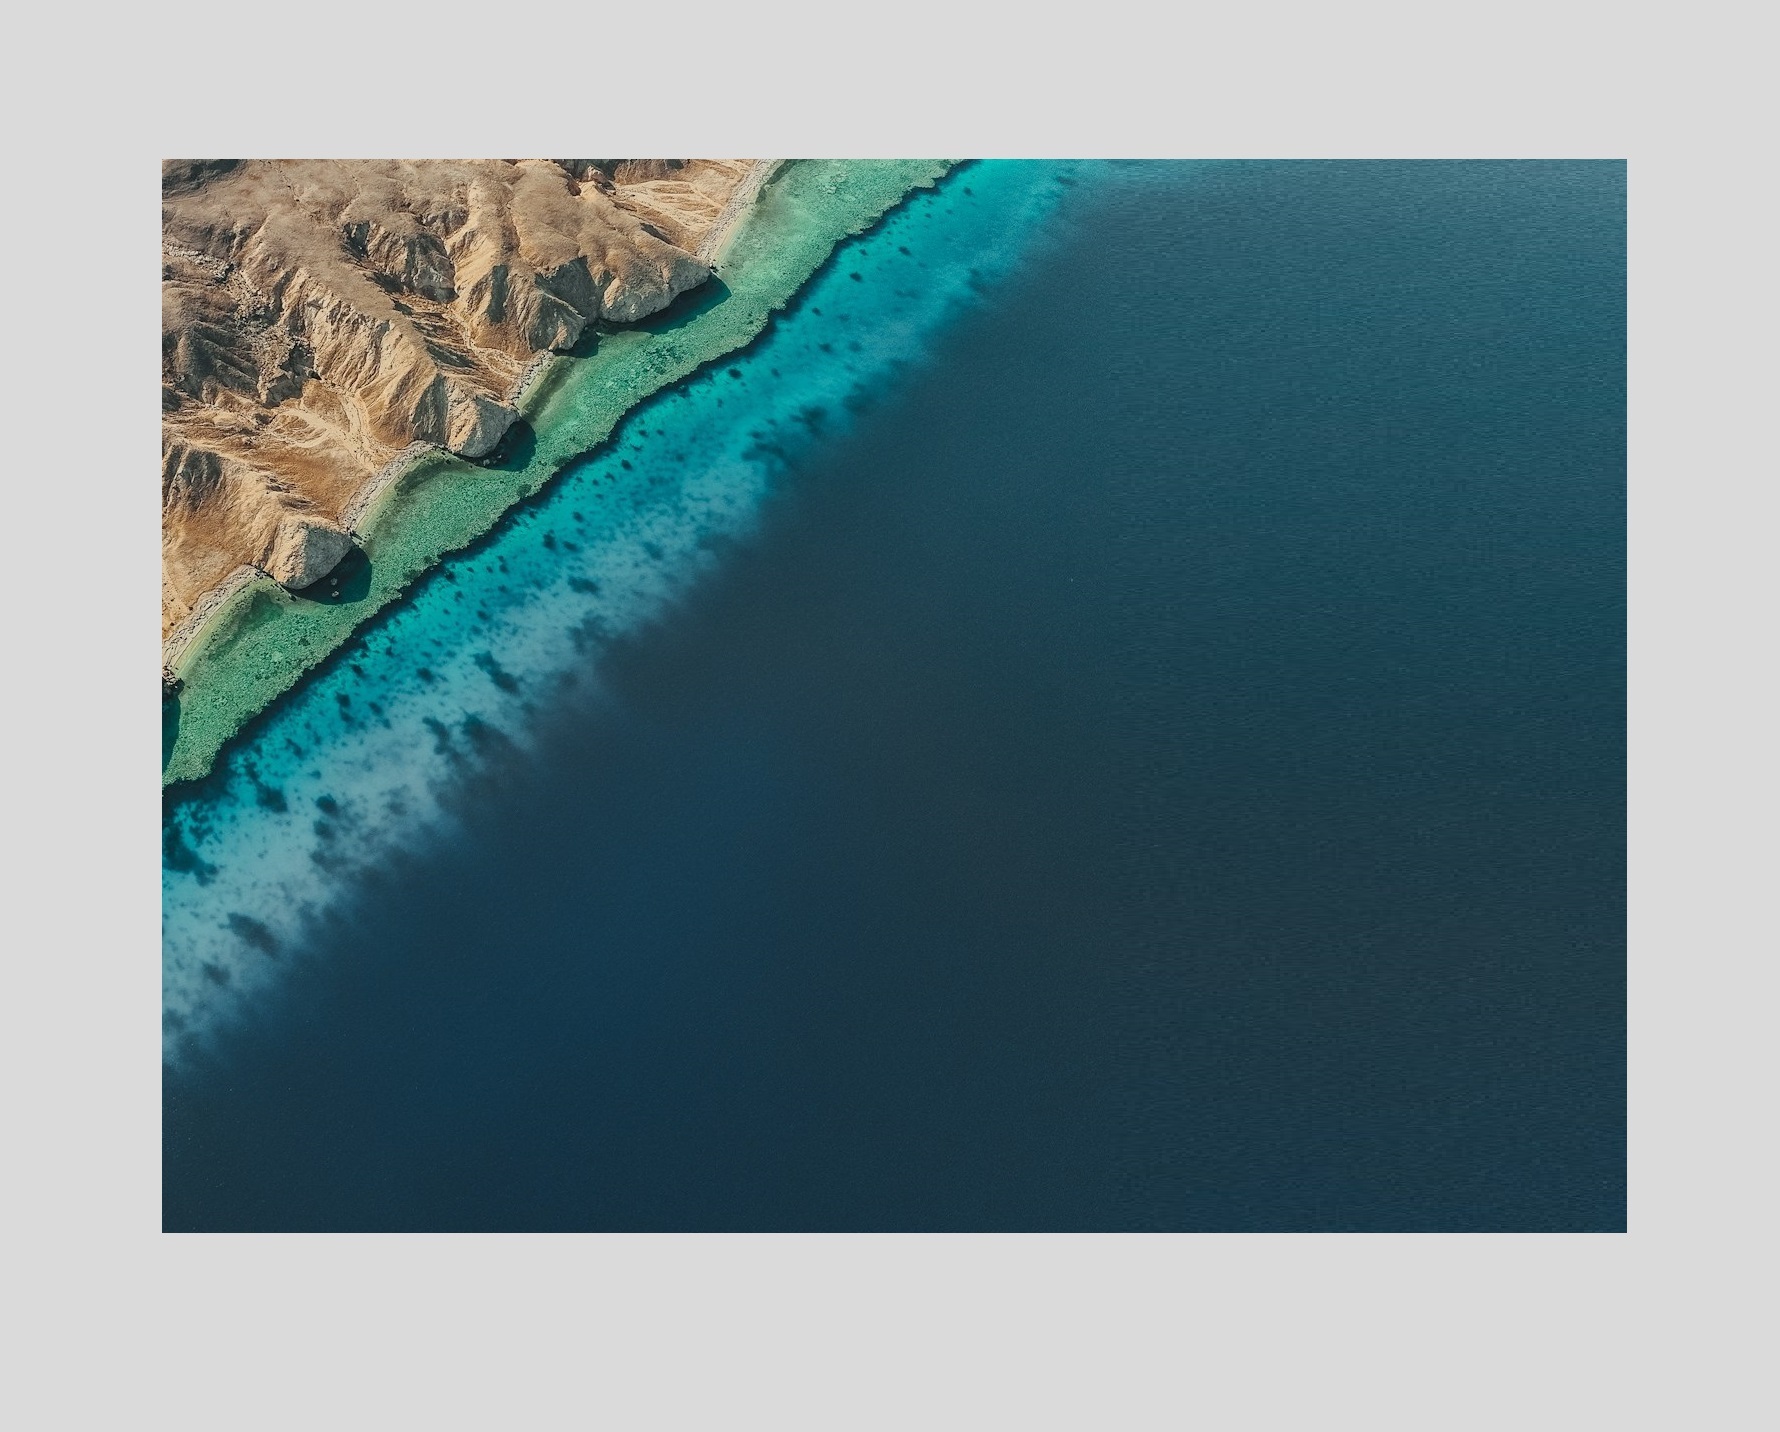
How far you can stretch depends on how big the stretchy area is and the degree to which it lacks detail and variation. The stretchy area in our example was sufficient for converting the vertical dimensions into a horizontal format.
Horizontally stretch a photo in the center
Sometimes there may be an opportunity to extend the middle part of an image, but it’s quite tricky due to the fact the subject tends to occupy this ‘prime real estate’.
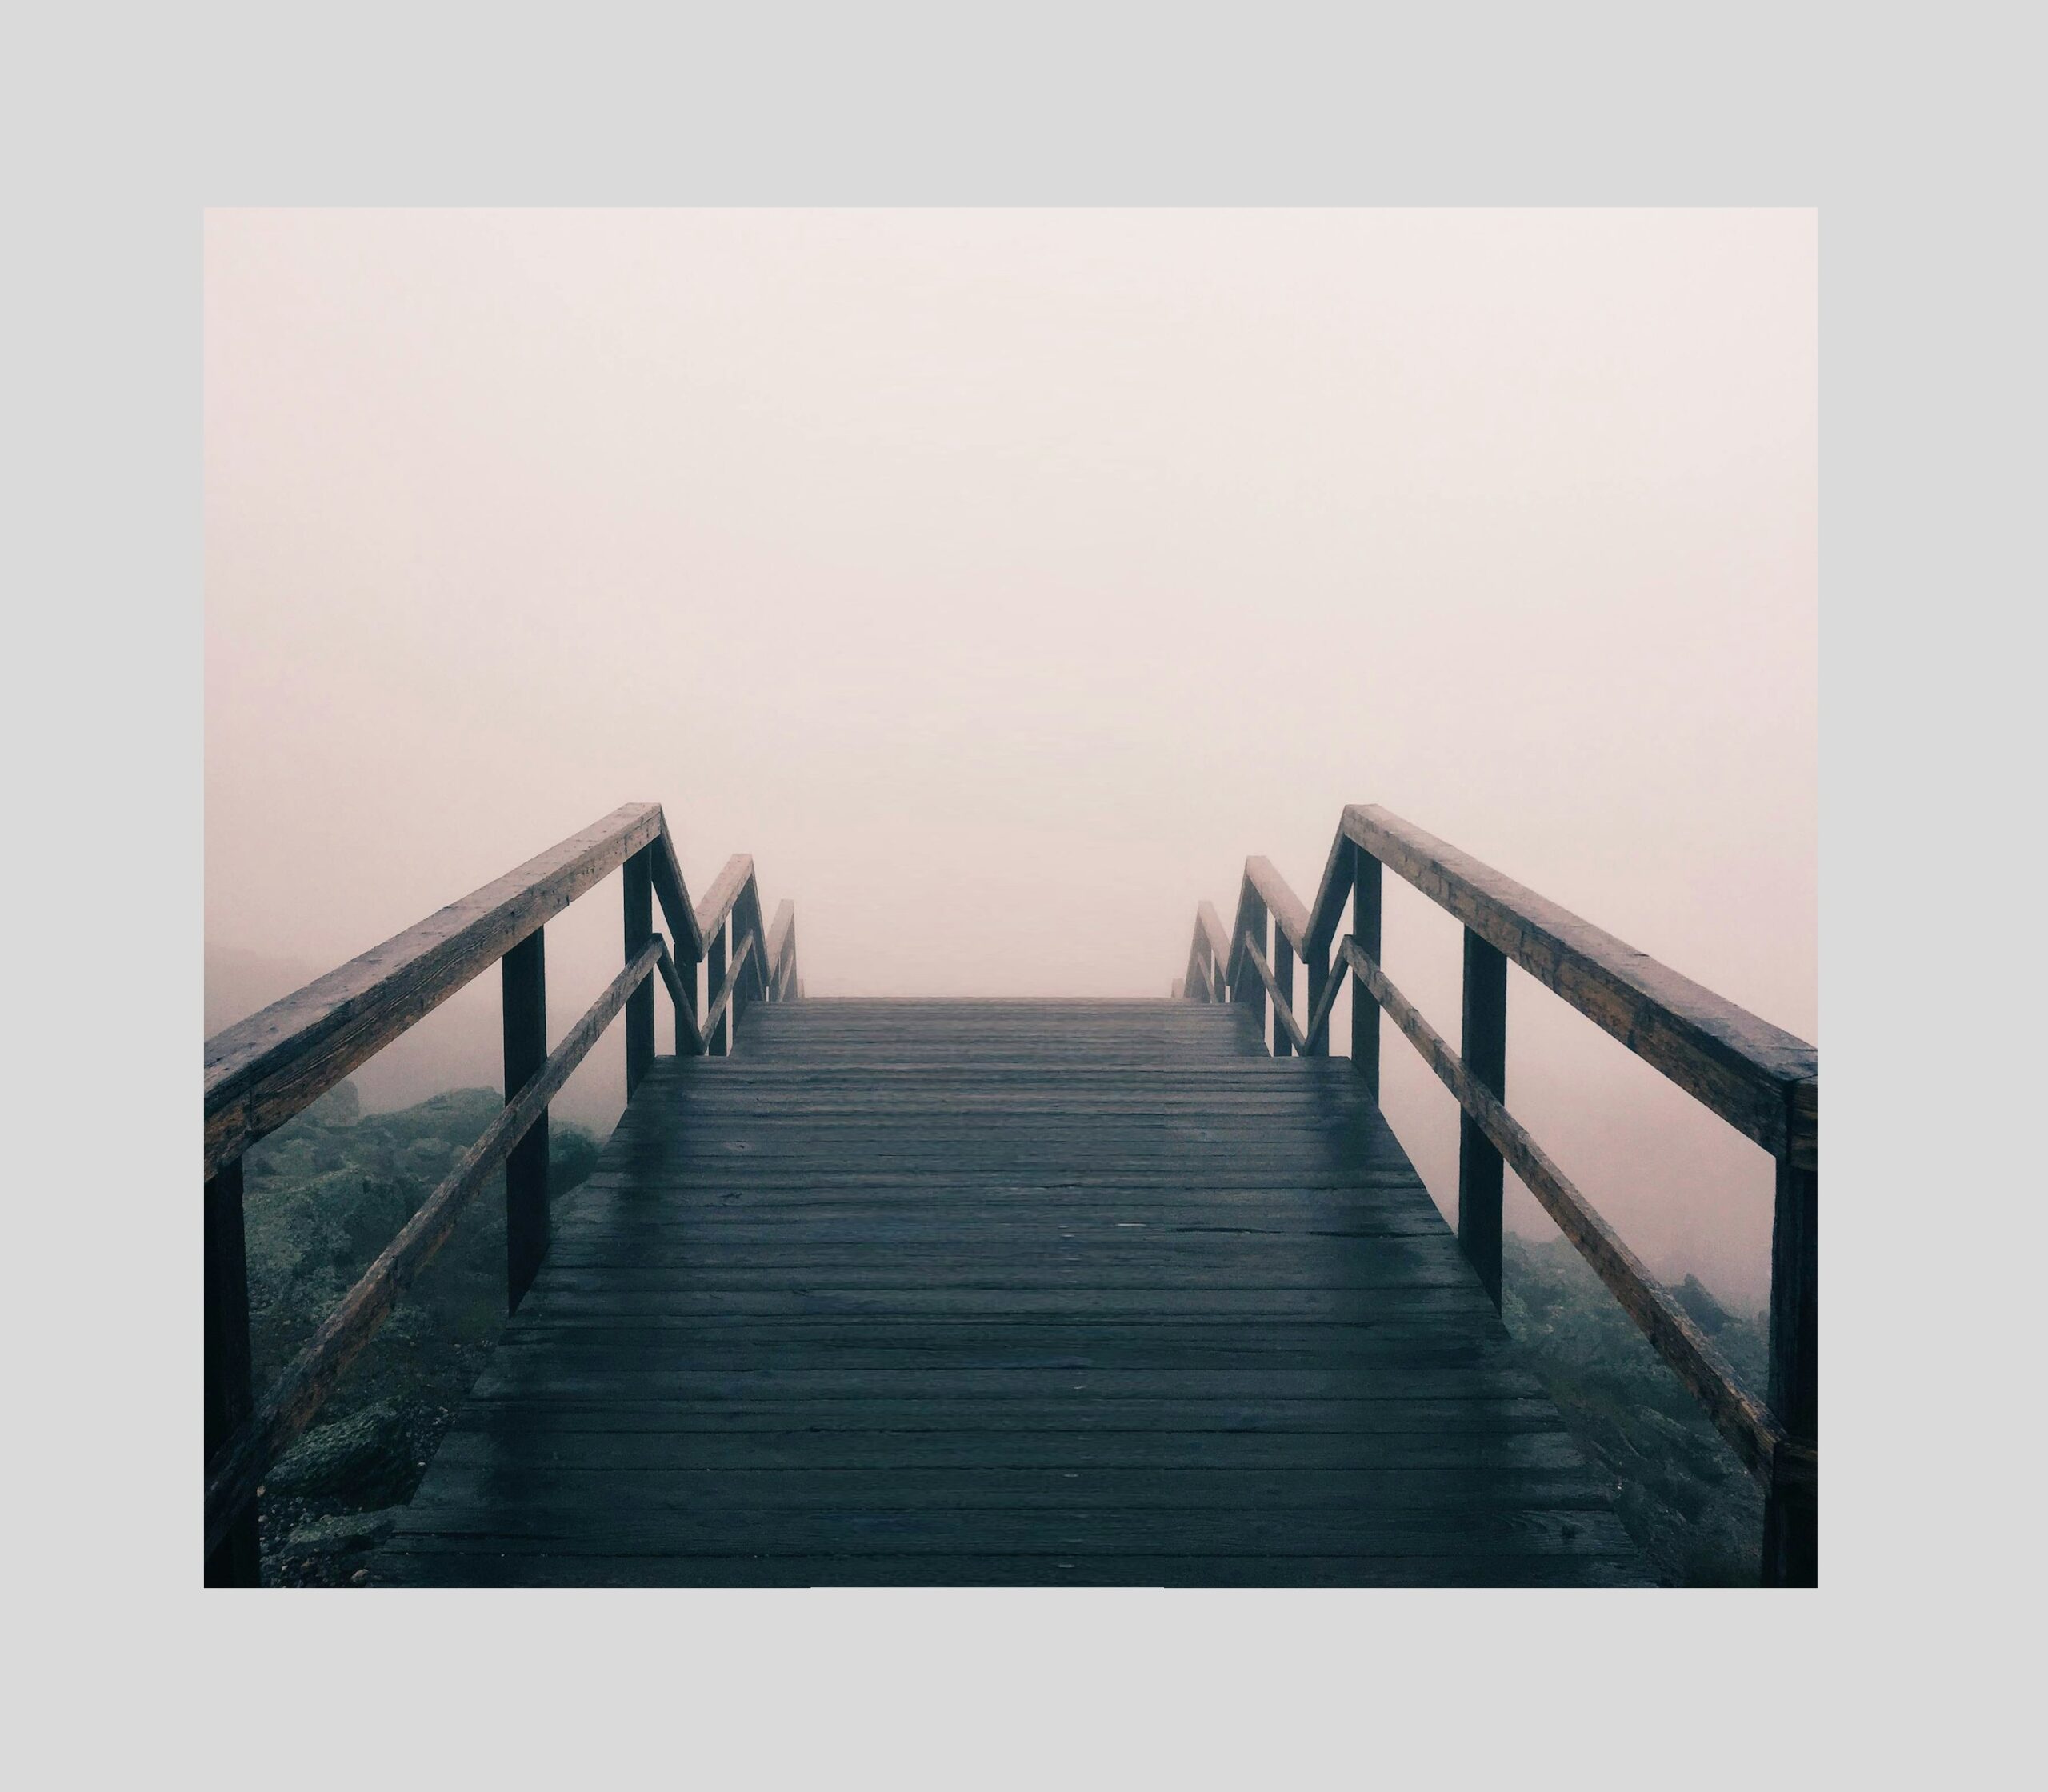
It just depends on the nature and composition of the photo. In this picture of a stairway surrounded by fog, there are two things that work to our advantage when it comes to horizontally stretching it.
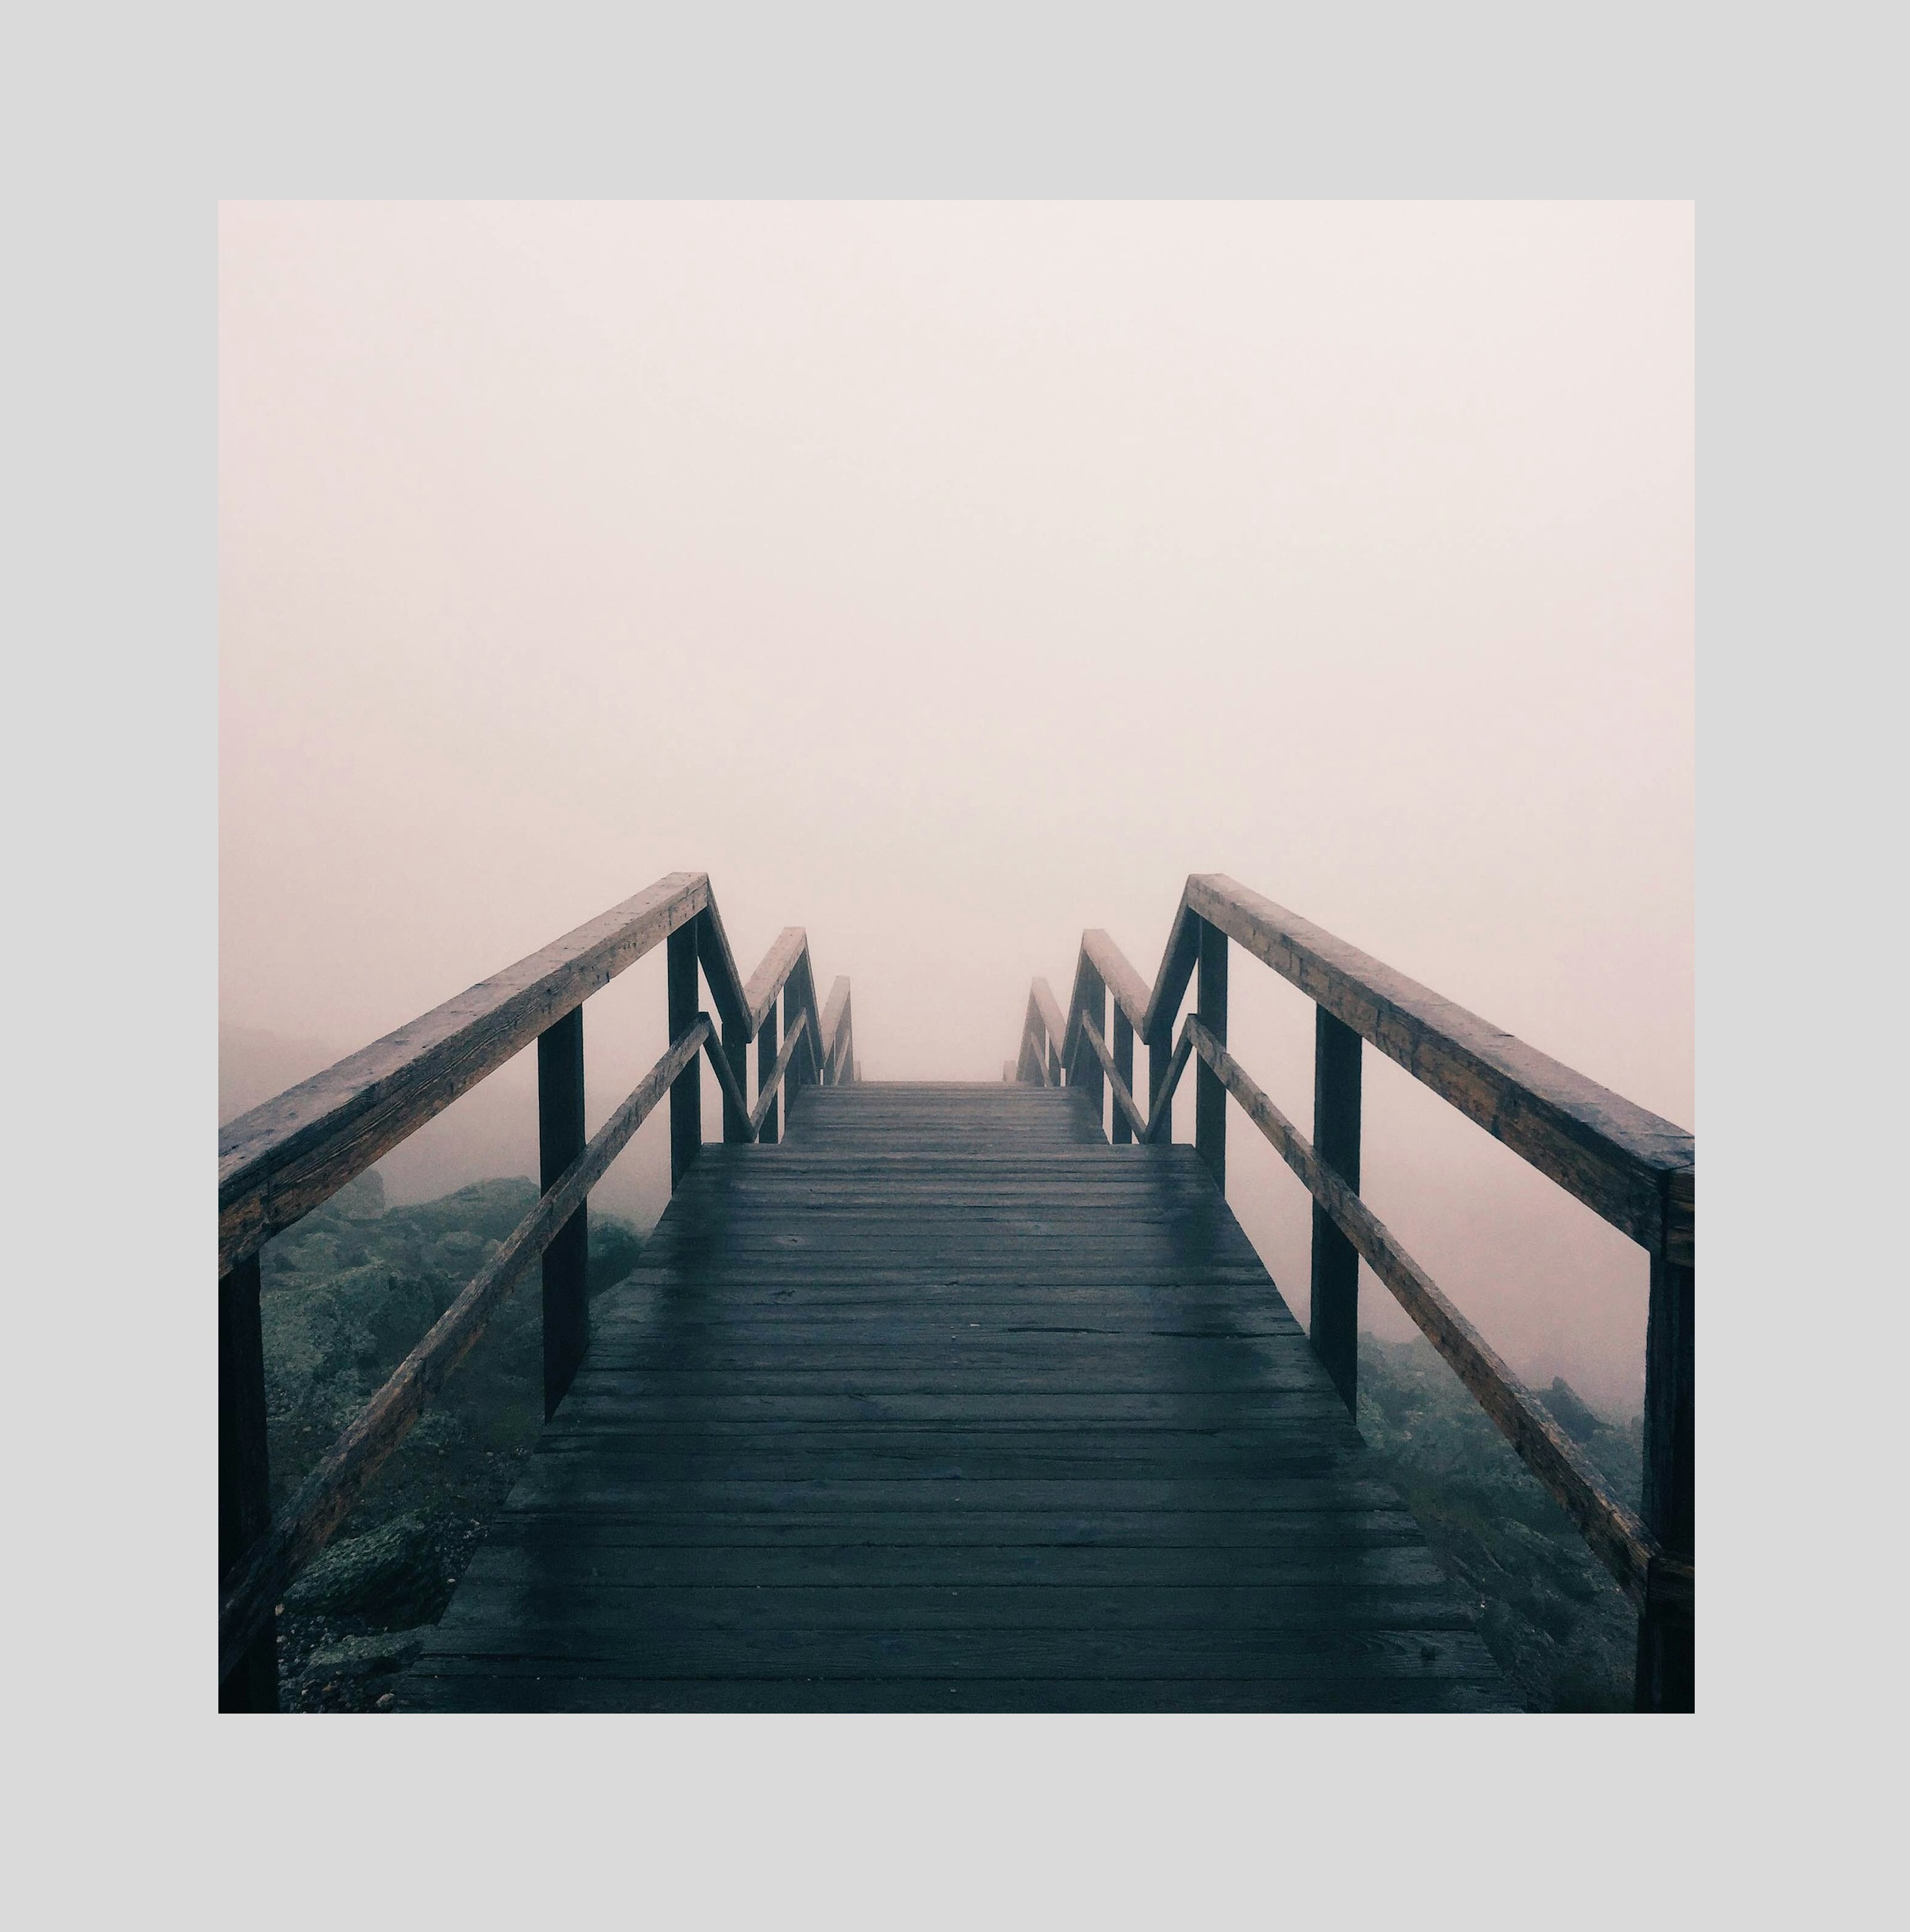
- The fog provides a nice blank canvas
- The wood planks are straight
The fog is stretchable because it’s free of detail, and the planks are stretchable because they are perfectly straight and therefore won’t veer off in a different direction as we stretch them.

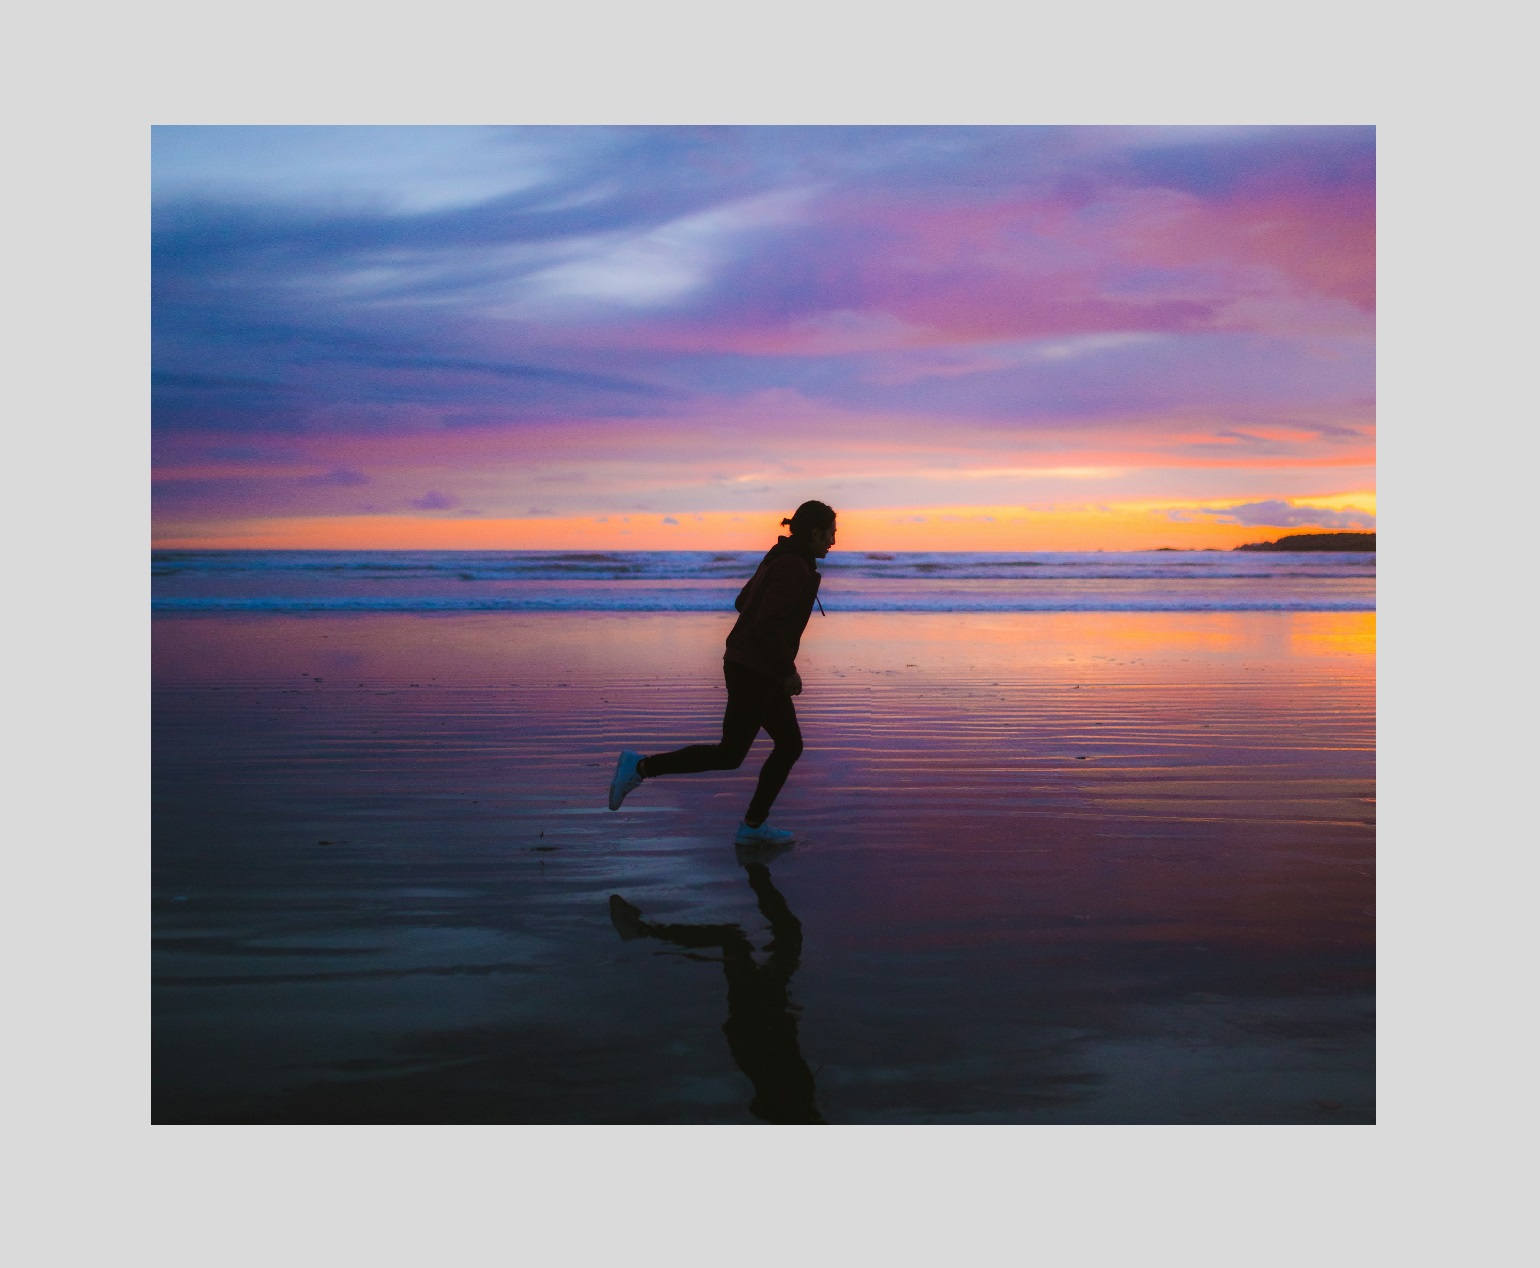
Just like before, we need to carefully select a full-length block and proceed to stretch it. We also have to split the picture into two so we can insert the stretched area between them. The end result is a horizontal photo with the same quality as the original.
Horizontally stretch a photo on both sides
It’s hard enough finding a suitable amount of stretchable space on one side, let alone both sides. But for the sake of completeness, we’ll show you an example.
And besides, stretching an image horizontally on one only may cause the subject to shift away from the center, leaving you with the famous ‘rule of thirds’ composition, which isn’t to everyone’s taste.
In this picture of a man running on a beach, it looks like there’s an awful lot of detail around the man. The reality is that everything in this image is stretchable except the man!
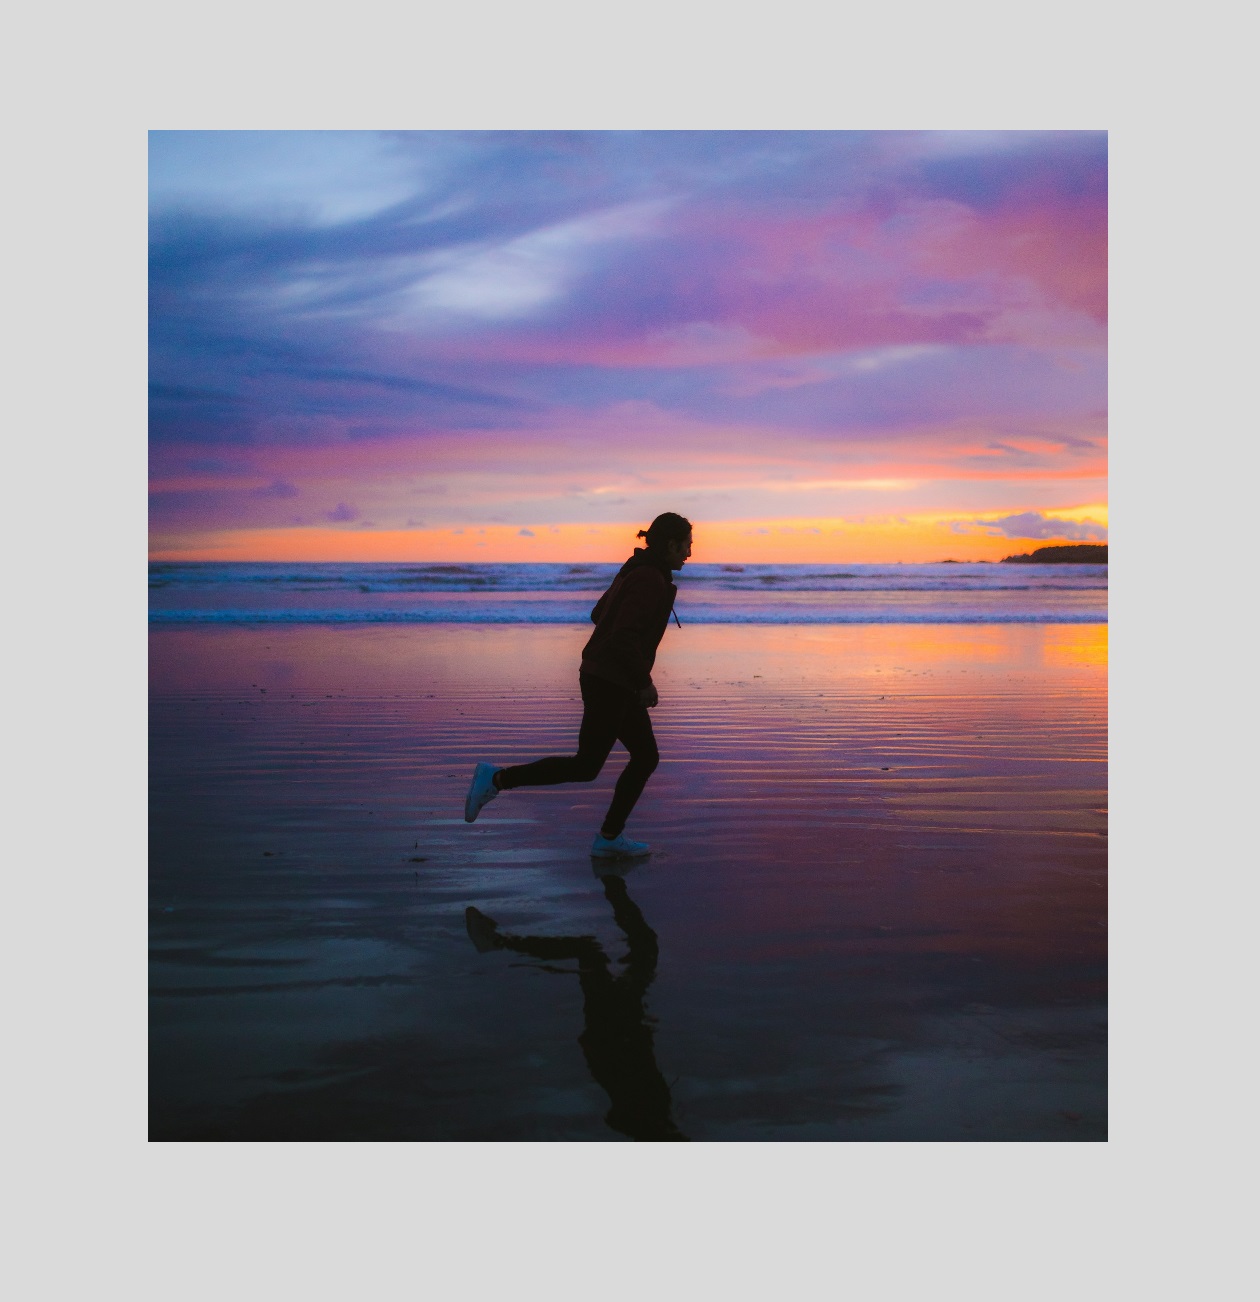
The silhouette of the man is too distinctive to undergo stretching. But the shape of the clouds, waves and sand will barely change, as long as we don’t overstretch them. The main thing is that the horizon is straight—which it is.
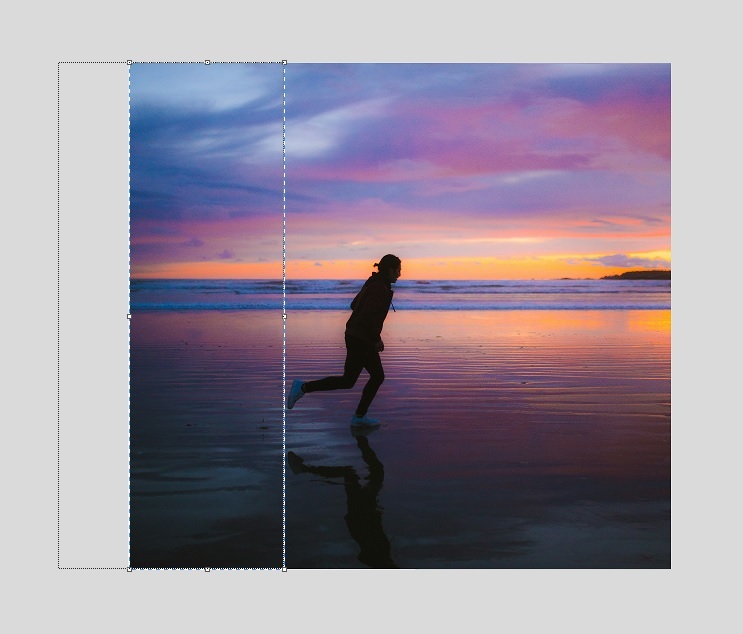
When you expand the width of an image on just one side, you have to do maximum stretching to make a noticeable impact. With two sides on the go, you can get away with minimal stretching, which is good news from a quality perspective.
Summary
Stretching a photo to make it wider always comes with risks. Your best bet is to limit the stretching to areas with little detail.
You have to find non-busy areas on the left-hand side, right-hand side, or both sides, and stretch them as far as they can go until you are satisfied or until it reaches breaking point in terms of pixelation.
Look out for lines and shapes that will become distorted when stretched, or cause the imagery to lose its sense of realism.